Love this? Pin it for later! 📌
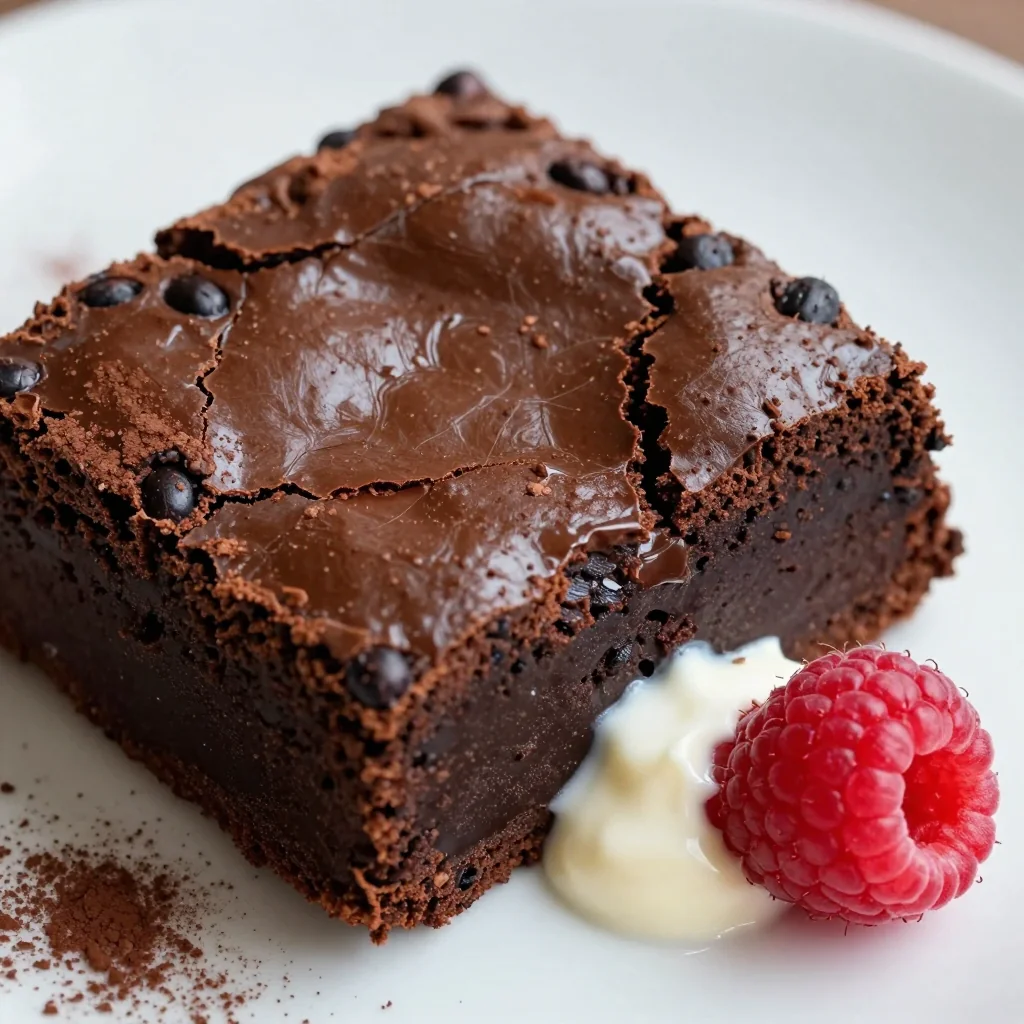
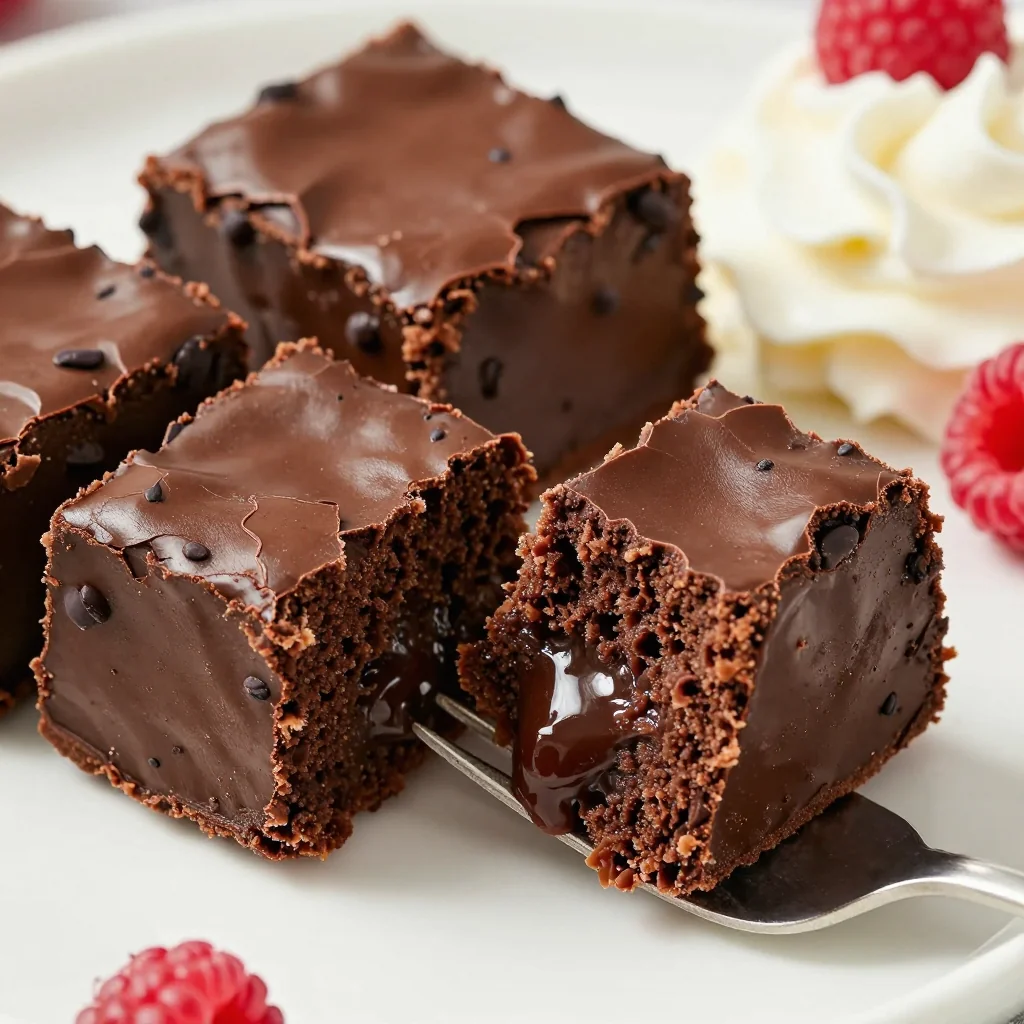
Transform that lonely can of black beans lurking in the back of your pantry into the most decadent, fudgy brownies you've ever tasted. Trust me – I've been perfecting this recipe since college when my roommate challenged me to make dessert from whatever we had on hand. What started as a dare became my signature potluck contribution, and now it's the recipe my neighbors request most often. These brownies are proof that desperation can lead to delicious innovation!
Why This Recipe Works
- Zero waste: Uses up those forgotten canned goods and half-empty cocoa containers
- Protein-packed: Each brownie delivers 6g of plant-based protein
- Gluten-free naturally: No specialty flours needed
- One-bowl wonder: Your food processor does all the work
- Kid-approved: Even picky eaters can't detect the beans
- Diabetic-friendly: Lower glycemic index than traditional brownies
- Freezer hero: Double the batch – they freeze beautifully
Ingredients You'll Need
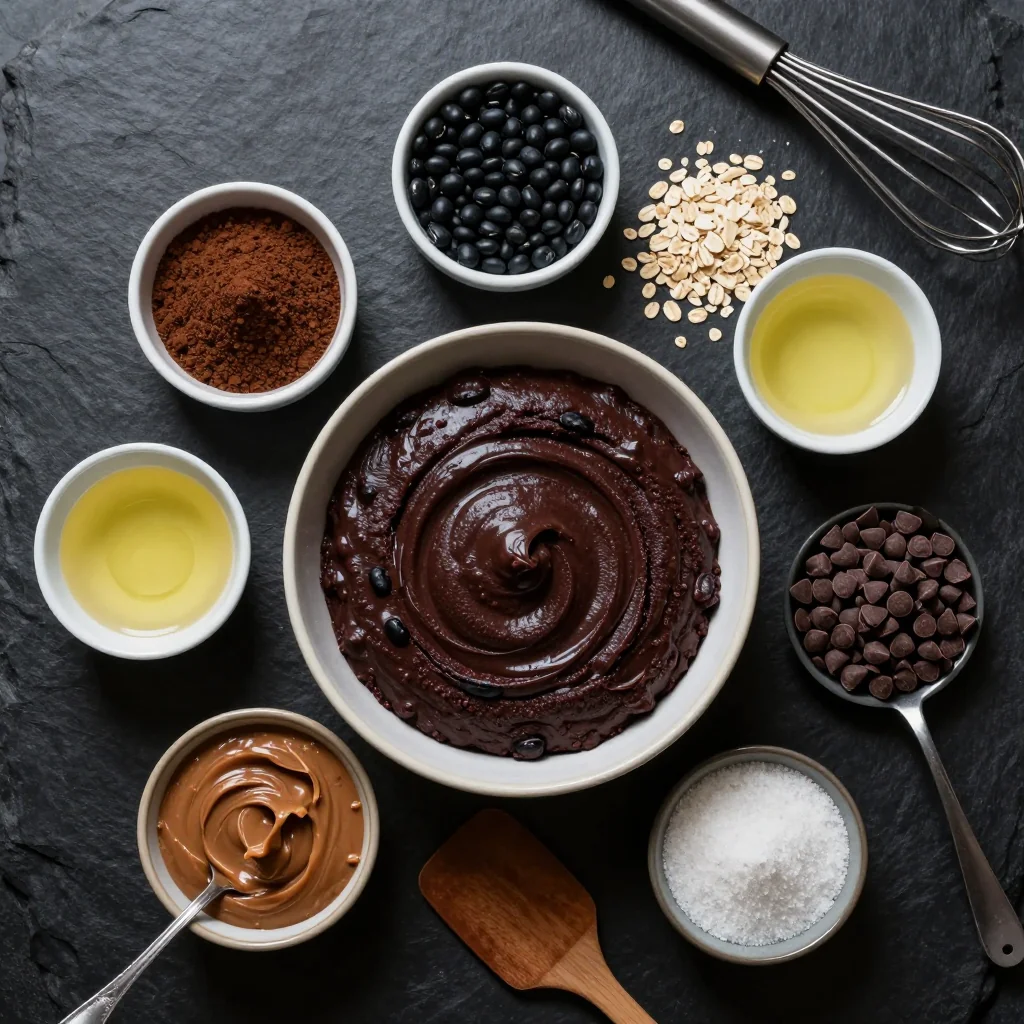
Before we dive into the magic, let's talk about why each ingredient matters. The black beans aren't just a gimmick – they create that dense, fudgy texture we all crave while adding fiber and protein. I've tested this recipe with every bean variety under the sun, and black beans win every time for their neutral flavor and smooth texture when pureed.
Black Beans: One 15-ounce can does the trick. Look for low-sodium varieties, or rinse regular beans thoroughly. If you're working with dried beans, you'll need 1¾ cups cooked. The beans should be very soft – if yours seem firm, simmer them an extra 10 minutes before using.
Cocoa Powder: This is where quality matters. I've made these with everything from generic store-brand to Valrhona, and while they'll work with any unsweetened cocoa, Dutch-processed gives you that deep, sophisticated chocolate flavor. If your cocoa has been sitting open for over a year, give it a sniff – it should smell intensely chocolatey, not dull or musty.
Eggs: Room temperature eggs blend more smoothly into the batter. Forgot to take them out? Place whole eggs in a bowl of warm water for 10 minutes while you prep everything else.
Coconut Oil: The refined variety keeps things neutral; unrefined adds a subtle coconut undertone that some love and others don't. Measure it solid, then melt – it's more accurate. No coconut oil? Any neutral oil works, but coconut gives the best texture.
Maple Syrup: Pure maple syrup, not pancake syrup, adds complexity and moisture. In a pinch, honey works but changes the flavor profile. For sugar-free needs, I've successfully used monk fruit maple-flavored syrup.
Vanilla Extract: Use the real stuff here. With so few ingredients, imitation vanilla stands out in the worst way. If you're cleaning out your pantry and find vanilla bean paste, use half the amount – it's more concentrated.
How to Make Pantry Clean-Out Black Bean Brownies for Dessert
Prep Your Pan and Preheat
Position your oven rack in the center and preheat to 350°F (175°C). Line an 8×8-inch metal baking pan with parchment paper, leaving overhang on two sides – these become your handles for easy removal. Metal pans conduct heat better than glass, giving you those coveted crispy edges. If all you have is glass, reduce the temperature to 325°F and add 5 minutes to the baking time.
Pro tip: Spray the pan lightly before adding parchment – it helps the paper stick and stay put while you spread the batter.
Rinse and Drain Beans Thoroughly
Empty your can of black beans into a colander and rinse under cold water for a full 30 seconds. This removes up to 40% of the sodium and eliminates that telltale bean flavor. Shake the colander vigorously to remove excess water, then spread the beans on a clean kitchen towel and pat dry. Any remaining moisture will make your brownies cakey instead of fudgy – we want them as dry as possible without being crumbly.
Blend Until Velvet-Smooth
Add the dried beans to your food processor and blend for a full minute, stopping to scrape down the sides twice. You're looking for a completely smooth puree with zero visible bean skins. This step is crucial – any chunks will give away your secret ingredient. If your processor is struggling, add one tablespoon of your eggs to help it along, but resist adding more liquid than necessary.
Add Wet Ingredients Strategically
With the processor running, add eggs one at a time through the feed tube, allowing each to incorporate fully before adding the next. This emulsification creates structure. Next, stream in the melted coconut oil, maple syrup, and vanilla. Process for another 30 seconds until the mixture looks like chocolate mousse – thick, glossy, and completely homogeneous.
Incorporate Dry Ingredients Gently
Stop the processor and add cocoa powder, baking powder, and salt. Pulse just until combined – overmixing activates the cocoa's bitter compounds. The batter should be thick enough to hold peaks but still spreadable. If it seems too thick (like brownie batter), add water a teaspoon at a time. Too thin? Add another tablespoon of cocoa.
Fold in Chocolate Chips
Transfer the batter to a bowl and gently fold in two-thirds of your chocolate chips with a rubber spatula. Reserve the rest for sprinkling on top. This creates pockets of melted chocolate throughout while keeping some visible for that classic brownie appearance. Use mini chips for more even distribution, or roughly chop a chocolate bar for rustic appeal.
Spread and Top Strategically
Scrape the batter into your prepared pan and spread it into an even layer. The batter will be thick – use an offset spatula or the back of a spoon dipped in water to smooth the top. Sprinkle remaining chocolate chips and any desired toppings. Give the pan a gentle tap on the counter to release air bubbles and help everything settle.
Bake Until Just Set
Bake for 22-26 minutes, rotating the pan halfway through. The edges should look firm and slightly pulled from the sides, while the center still jiggles slightly when you gently shake the pan. A toothpick inserted near the edge should come out with a few moist crumbs – not wet batter, but not completely clean. They'll continue cooking from residual heat.
Cool Completely (The Hardest Part)
Place the pan on a wire rack and let cool for at least 2 hours. I know, I know – warm brownies are irresistible, but these need time for the bean structure to set. For clean cuts, refrigerate for 30 minutes after cooling, then use a plastic knife or one dipped in hot water, wiping between cuts. They'll be fudgiest after an overnight rest in the fridge.
Expert Tips
Don't Overbake
These continue cooking as they cool. Pull them when the center still has a slight wobble – they'll set perfectly as they cool.
Chill for Best Texture
Refrigerate overnight for the fudgiest texture. The cold helps the bean structure firm up, creating that dense brownie bite.
High-Powered Blender Works
No food processor? A high-speed blender works, but you'll need to stop and scrape more often. Add an extra tablespoon of oil for easier blending.
Room Temperature Matters
Cold eggs can cause the coconut oil to seize. Let everything come to room temp for the smoothest batter and best rise.
Enhance Chocolate Flavor
Add 1 teaspoon instant espresso powder or ½ teaspoon cinnamon to deepen the chocolate notes without tasting either addition.
Test Your Baking Powder
Old baking powder loses potency. Drop a teaspoon in hot water – it should fizz vigorously. If not, your brownies won't rise properly.
Variations to Try
Mexican Hot Chocolate
Add ½ teaspoon each of cinnamon and chili powder, plus a pinch of cayenne. Top with cinnamon-sugar before baking.
SpicyPeanut Butter Swirl
Warm ¼ cup peanut butter with 1 tablespoon maple syrup. Dollop on top and swirl with a toothpick before baking.
NuttyMint Chocolate
Replace vanilla with ½ teaspoon peppermint extract. Mix in chopped Andes mints instead of chocolate chips.
FreshSalted Caramel
Swirl in 3 tablespoons of caramel sauce and sprinkle with flaky sea salt before baking.
DecadentStorage Tips
These brownies actually improve with age – the flavors meld and the texture becomes even fudgier. Store them in an airtight container with parchment paper between layers. They'll keep on the counter for 3 days (though they never last that long in my house), in the refrigerator for up to a week, or frozen for up to 3 months.
For freezing, cut them into squares and wrap each individually in plastic wrap, then place in a freezer bag. Thaw overnight in the refrigerator or for 30 minutes at room temperature. Want that fresh-baked taste? Warm them in the microwave for 10-15 seconds or in a 300°F oven for 5 minutes.
Pro tip: If you're meal prepping, double the recipe and bake in a 9×13 pan, adding 5-8 minutes to the baking time. You'll have brownies for days, and they make excellent gifts wrapped in parchment with a ribbon.
Frequently Asked Questions
Pantry Clean-Out Black Bean Brownies for Dessert
Ingredients
Instructions
- Prep: Preheat oven to 350°F. Line an 8×8 pan with parchment paper.
- Blend beans: Process beans in food processor until completely smooth, 1 minute.
- Add wet ingredients: Blend in eggs, oil, maple syrup, and vanilla until combined.
- Add dry ingredients: Pulse in cocoa powder, baking powder, and salt just until combined.
- Fold in chips: Stir in ⅓ cup chocolate chips by hand.
- Bake: Spread into pan, top with remaining chips, and bake 22-26 minutes.
- Cool: Let cool completely in pan before cutting for fudgiest texture.
Recipe Notes
For the best texture, refrigerate overnight after cooling. These get fudgier with time! Store in an airtight container for up to 5 days or freeze for 3 months.